Recalls due to faulty manufacturing or product counterfeiting by third parties are a major problem in the German mechanical and plant engineering industry. In 2020, the monetary damage caused by plagiarism alone amounted to 7.6 billion euros for German companies. The consequence of plagiarism or defective components are claims for compensation by customers against the manufacturer. In order to avoid compensation payments, the manufacturer is obliged to provide evidence that at the time of delivery the component was in a defect-free condition according to the current state of the art. In the case of a plagiarism, the manufacturer must even prove that the component was not produced by him. In both cases, it is necessary to trace the components throughout their entire life cycle.
For successful tracing, the components must be clearly marked. For this purpose, companies currently use various types of active markings. An active marking is, for example, a QR code. The disadvantage of active markings is an additional application step at the end of the process chain. In addition, it is not possible to apply an active marking to every component due to its shape. For these reasons, it makes sense to use an efficient and cross-industry method for component identification that does not require an additional application step.
Your surface can do more!
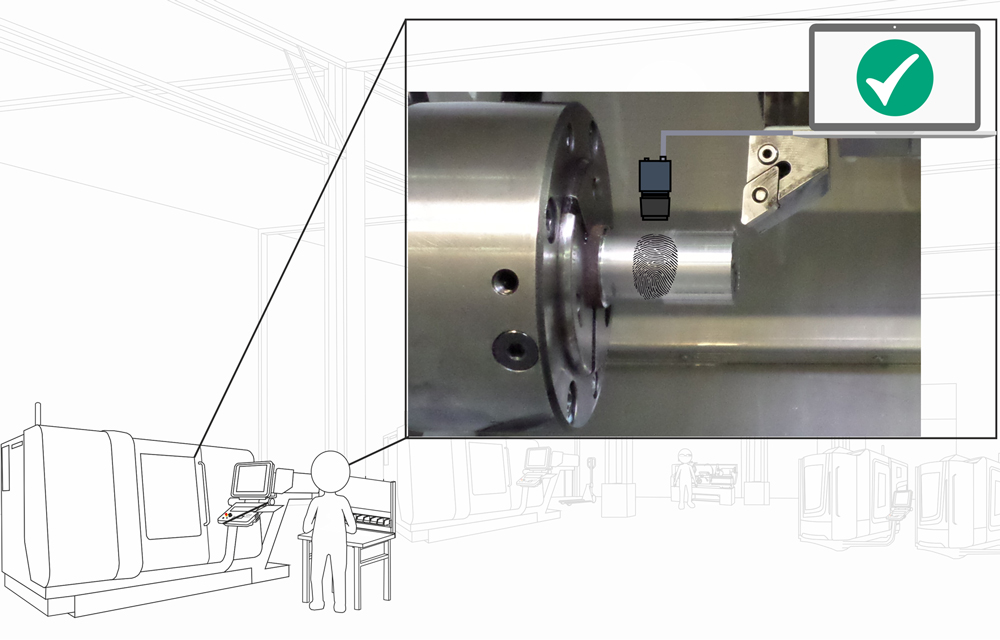
In addition to active markings such as the QR code, component identification can also be realized passively via the unique properties of the surface. In metal-cutting processes, stochastic features are created on the surface during machining. These features can be generated, for example, by the cutting edge roughness of the tool or vibrations in the machine. Even if the general conditions during machining remain the same, microscopic differences occur on the surface.
The new innovative method of the Institute for Information Processing (TNT) and the Institute of Production Engineering and Machine Tools (IFW) of Leibniz University Hannover extracts these stochastic features via measurement with a high-resolution industrial camera. To extract the features from the measurement, the identification method uses the continuous wavelet transform (CWT). In this process, a profile section is determined from the measurement, which is converted into a local spectrum via the CWT. Non-maxima suppression identifies the extreme points of the CWT and thus the features.
The arrangement of the features is so unique that it is referred to as “fingerprint”. For the matching of two fingerprints, the RANSAC (Random Sample Consensus) algorithm is used. This algorithm is a statistical method for determining the similarity of two data sets. In the Collaborative Research Centre 653, the method was successfully validated experimentally using 500 ground workpieces.
Uniquely identifying millions of identical components
In the research project “Marker-free component identification under series conditions”, funded by the German Federal Ministry of Economics and Climate Protection, the IFW, together with a large number of industrial partners, is researching the use of the method under near-production conditions. During the project, the main machining processes used in industry are being investigated. This has made it possible to qualify surface grinding, external cylindrical grinding, turning and milling for marker-free component identification.
Turned and milled components tend to have a lower proportion of stochastic influencing factors and features than ground workpieces due to the use of a defined cutting edge. However, an identification reliability of 1020 could still be achieved for all processes investigated. It is therefore possible to identify millions of identical components unambiguously during production.
Tracing components from production to use
The next step in the research project is to investigate the traceability of components from production to use. Together with the project partners, the influence of coating, heat treatment and galvanic processing on the surface and thus the identification will be investigated. During the investigations, it was possible to identify and assign the components even after a 2.5 µm thin DLC layer had been applied.
In addition to the investigations of the downstream processing steps, the research project is also investigating the influence of surface changes caused by wear. Preliminary investigations have shown that a surface change of 20% still leads to successful identification. Consequently, components can be identified even after mechanical wear or corrosion has occurred. The results show the first steps towards tracing components throughout their entire life cycle.

